Polygonal Effect
10 Feb 2019
This will guide you through an easy process to create a polygonal effect, quickly and easily in 3ds Max.
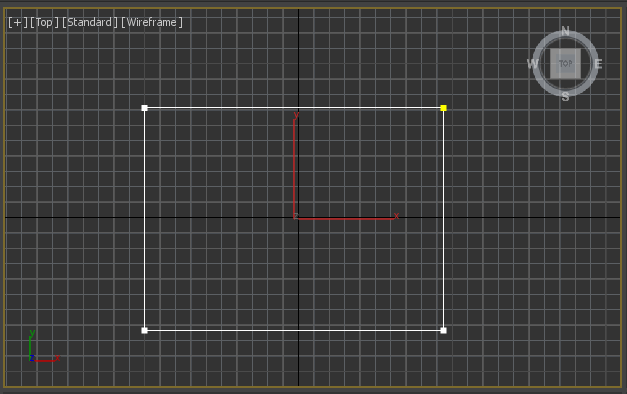
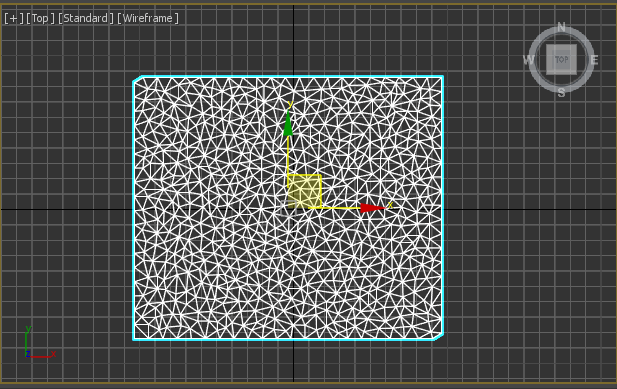
The first step is to create a rectangle in the top viewport using the rectangle tool under the shapes tab.
Go to the modify panel with the rectangle selected, and add a Garment Maker modifier. This will break the rectangle into lots of triangles.
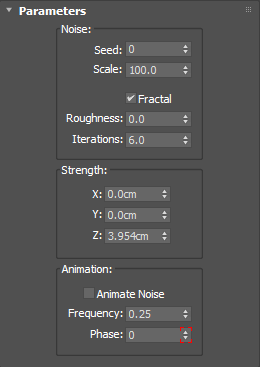
Next add a Noise modifier and mark the Fractal checkbox and increase the Z Strength to what you desire. This will allow the polygons to be affected by different amounts of lighting.
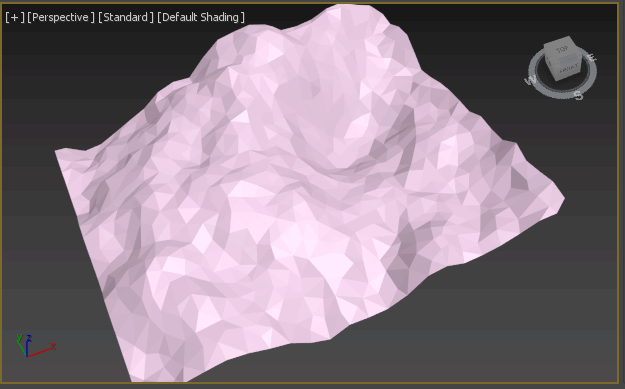
Add a Smooth modifier so that the individual polygons appear without any smoothing on them.
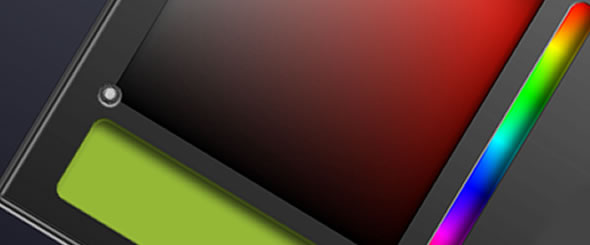
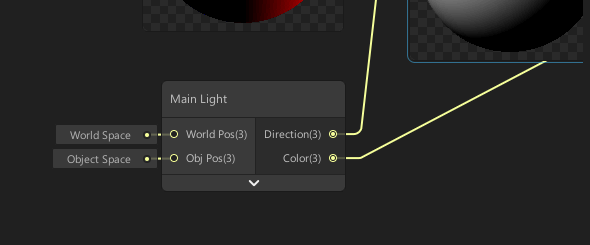
To alter the colours, apply a white material to the rectangle and add two directional lights above the rectangle from opposite directions. You can give the lights different colours to affect the shading.
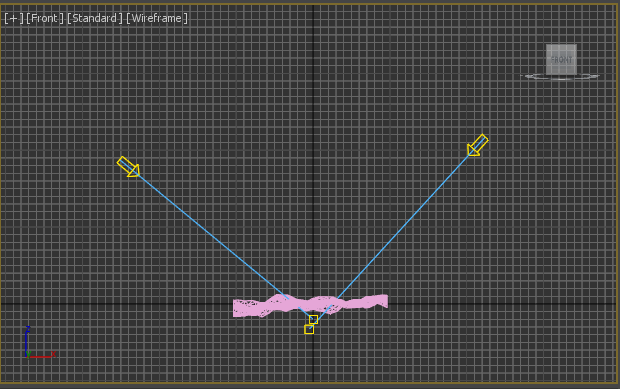
You can alter the seed of the noise and the lighting to achieve lots of different looks.